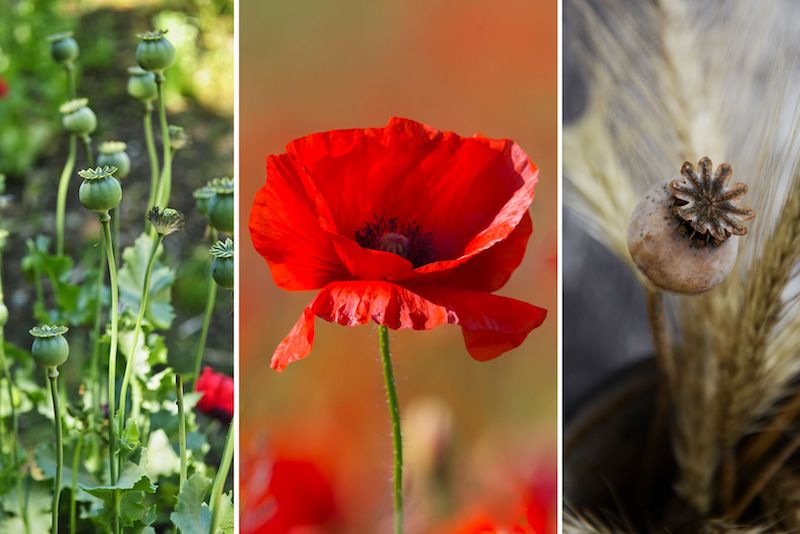
Poppies enjoy cooler temperatures and tend to put on a spectacular show blooming between May and June (or earlier depending on your hardiness zone). When the poppy flower has finished flowering, the petals fall back and the foliage will eventually die back for winter. The green bubble-shaped pod left behind contains hundreds of seeds within waiting to be harvested and grown into another stunning display of majestic poppy flowers. Here’s how to make the most of your poppy garden as you learn how to harvest poppy seeds.
What You’ll Need To Harvest Poppy Seeds From Their Pods
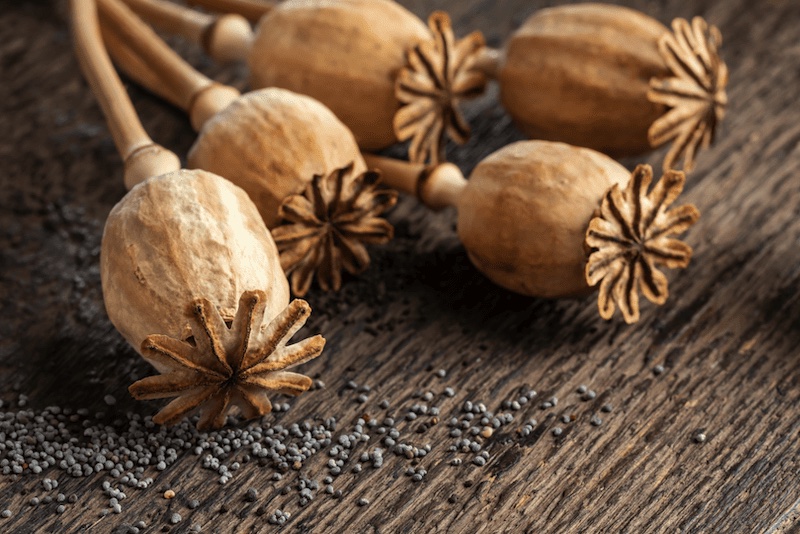
- Poppy seed pods
- Clean garden shears
- A tray or paper plate
- A small glass jar with tight fitting lid
- A piece of tape to label your jar with the date
- A sharpie marker for writing
Wait For The Poppy Plant To Form the Seed Pod
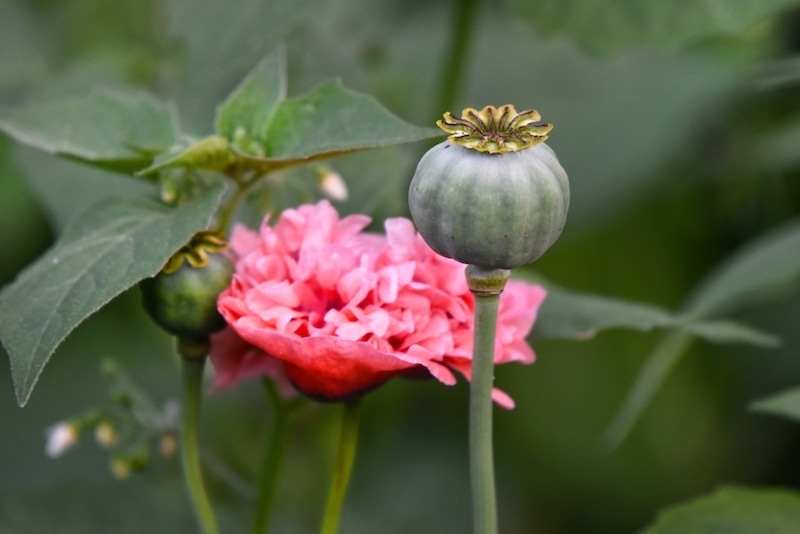
When the poppy flower has lost the last of its flower petals, a seed pod will be left behind. The pod will still be green in color. Do not clip or collect the upright seed capsules connected to the stems. Leave the pod intact as it is still premature for harvesting.
How Will You Know When the Poppy Seeds Are Ready To Harvest?
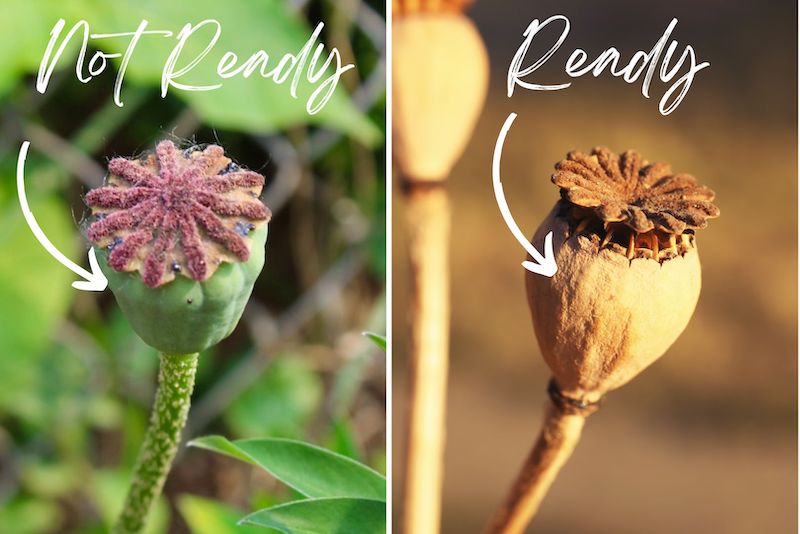
You will wait and watch the poppy seed pod carefully for a change in color. The seed pod pictured above was taken from perennial oriental poppies grown in our garden just last summer. As pictured above in the photo with the brown seed pod, you’ll let the poppy pods dry intact on the stem. The poppy seed pod must turn from green to brown in color. Leave the pod on the stem as long as possible until the pod has turned completely brown and the seeds rattle inside.
Collect The Seed Pods When Dry
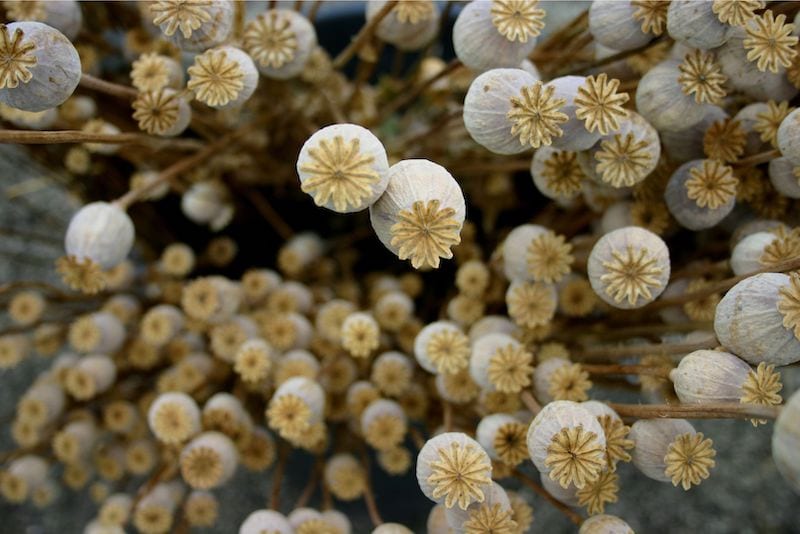
When the poppy seed is browned through and thoroughly dry, shake the large pod to test before clipping. When you can shake the pod and hear the rattling of tiny seeds inside (like a little maraca), the seed pod is ready for collection. Clip the seed pod from the plant using clean shears (leaving about 2 to 3 inches of stem for easy handling).
Dry The Poppy Seed Pods
Place the dried and clipped poppy seed pods in a cool dry place. For best results, take another moment to place the seed pods on newspaper or a paper plate and let dry for a couple of weeks to ensure that seeds reach full maturity.
How To Harvest Poppy Seeds From The Seed Pod
When the drying period is finished, carefully collect the poppy seed heads. To collect the poppy seeds from the pod, cut a whole in the top of the pod or open the pod completely by pulling it apart.
How To Collect and Save Poppy Seeds From Your Harvested Bulbs
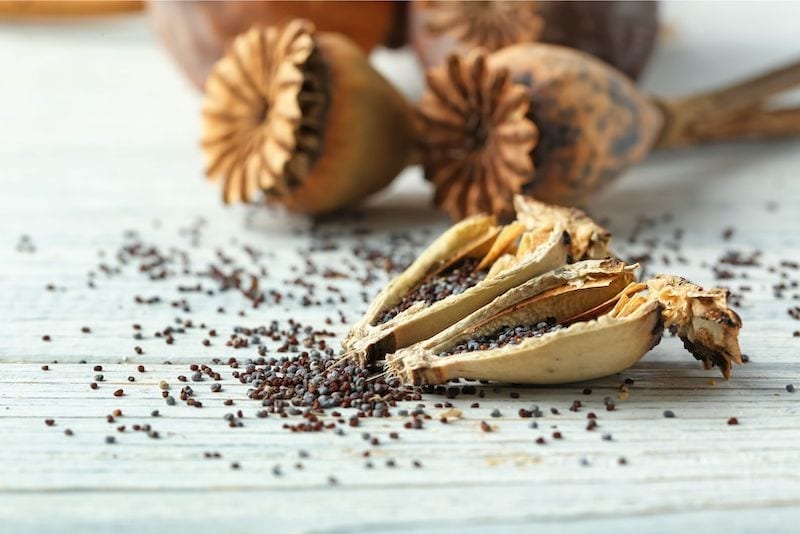
Use a wide flat paper plate and pour the seeds from the pod onto the plate. This makes it much easier to sift through the seeds and remove any bits and pieces of plant or pod that aren’t seed. Transfer the seeds to an airtight container such as a small jam or jelly jar with a matching lid and cover tightly.
Label with the current date of harvest and store in a dark cool place. Proper storage helps to increase your chances of performance and germination for the seeds the following season. Sow seeds for new plants within one year.
When to Plant Poppy Seeds For New Plants
Wait to plant your newly dried and harvested poppy seeds until the following gardening season. Plant poppy seeds in early spring around mid March. Plant poppy seeds when weather is stable and freezing winter conditions are no longer a threat. When in doubt, be sure to check the first and last frost dates in your area.
Do I Need To Soak Poppy Seeds Before Planting?
Poppy seeds don’t require any special soaking or exposure to water for any period of time prior to planting. Poppy seeds perform best when sown directly into their soil.
Drop poppy seeds into freshly prepared, weeded, well-drained soil and cover with no more than 1/8 of an inch thick layer of fertile soil. Plant in full sun or direct sunlight (much like we did when we started these tomatoes from seed as well).
Sow New Seeds In The Fall To Keep Poppies Going the Following Summer
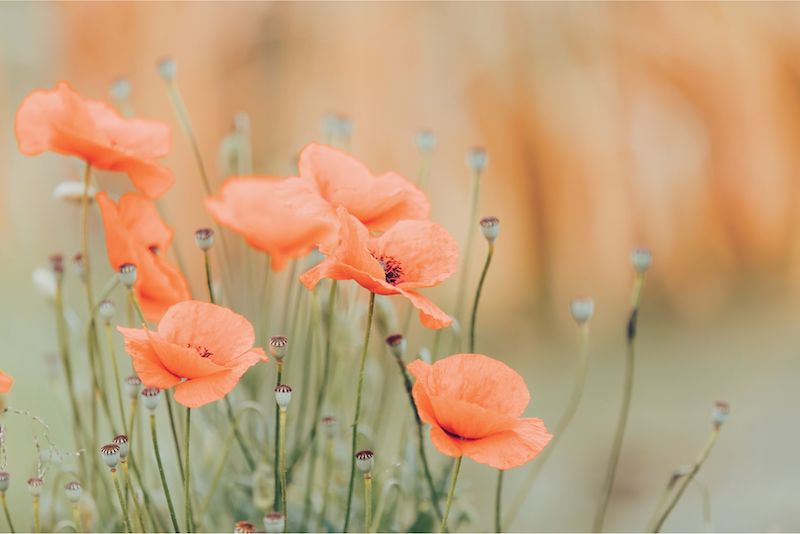
It’s always a good idea to sow new poppy seeds again in late fall to keep your poppy garden going for the spring of next year.
Once established, mature plants will make a bold and beautiful addition to your flower garden as these beautiful flowers put on a stunning bloom from early summer through late summer in June and throughout July. Their big bonus? They’re particularly adept at self-seeding so you’ll get an abundance of more free poppies year after to grace your gardening space. That means even more leftover to make some stunning fresh-cut flower arrangements.
Knowing Your Plant Hardiness Zone Helps Your Gardening and Its Timing
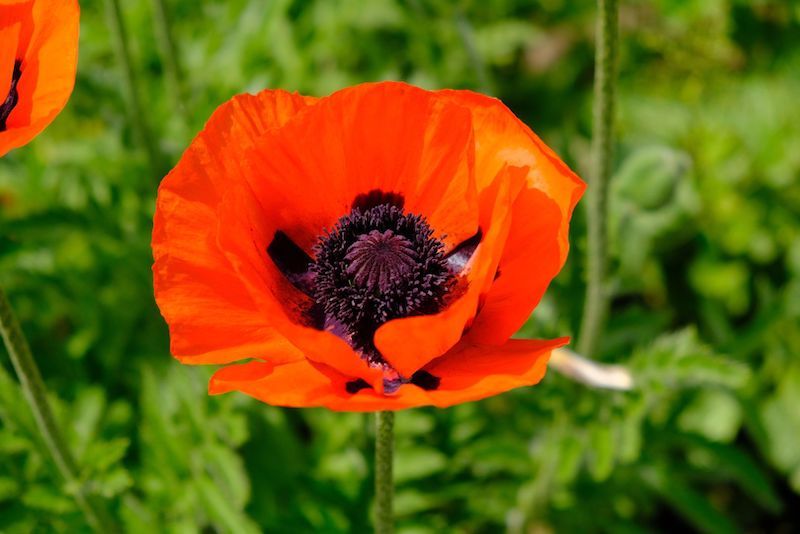
Whether planting annual poppies or perennial poppies, you’ll want some help from your gardening zone. It helps to know your plant hardiness zone because it can guide you to better assess dates for the planning and planting of your garden. For example, here in Chicago we’re considered a Zone 5 which means its far too cold to keep gardens going over winter. If you live in a Zone 5 area, you’ll typically wait until spring to re-start your garden and then re-plant as desired in the fall to keep your garden going the following season.
>>The Higher The Number The Hotter The Zone
If you live in a zone 8 or higher area (like Florida) the warmer temperature conditions allow for many garden varieties to continue growing throughout the year. Usually a higher zone hardiness number indicates a warmer growing area. A lower zone number indicates a colder and more limiting growing area (or areas that experience full winters with frost). To figure out your plant hardiness area, use a plant hardiness zone map to help you plan your garden accordingly. This way you can really make the most of your garden this spring.
Don’t forget your containers either, sift through tons of colorful ideas with this cool list of unique container garden ideas for everyone. If your little oasis is above you, then start planning your spot for summer with these easy rooftop gardening ideas, too!
