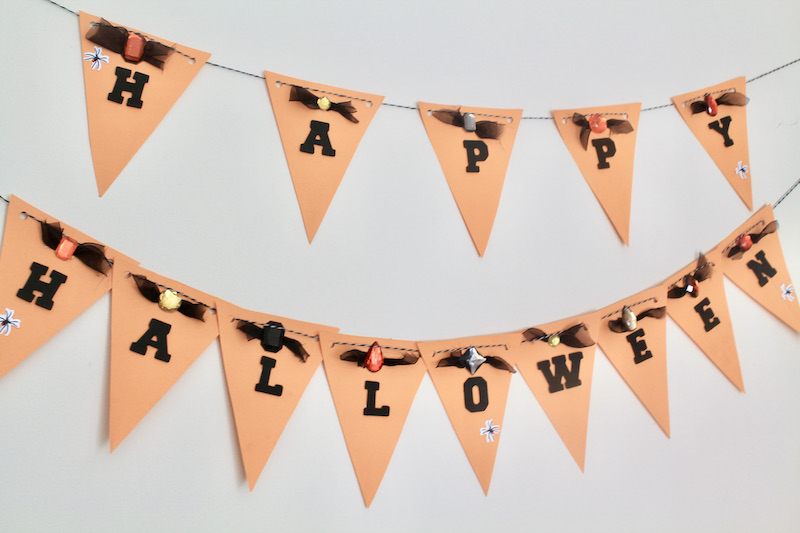
Wish everyone very happy hauntings in spooky style with this simple but festive diy Halloween garland. A little string, some black ribbon, and crystals embellish the easy cut-out bunting flags to create a stylish Happy Halloween banner decoration.
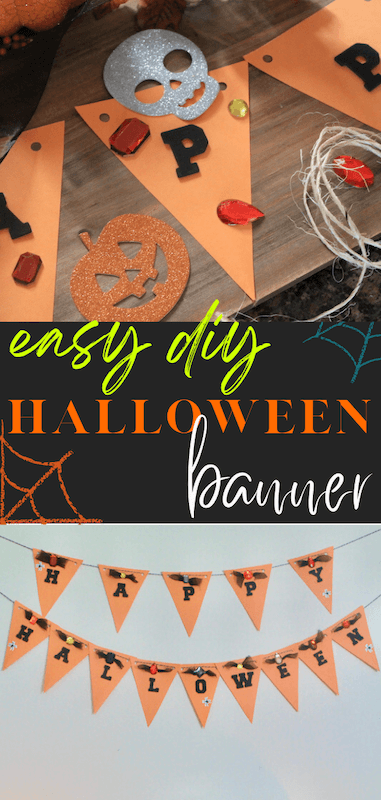
If you’re looking for a simple diy Halloween decor idea to add a little festive flare to your spot, this easy DIY Happy Halloween garland adds just the right touch.
This page contains affiliate links which allow me to earn small commissions from qualifying purchases of fun and favorite products at no cost to you.
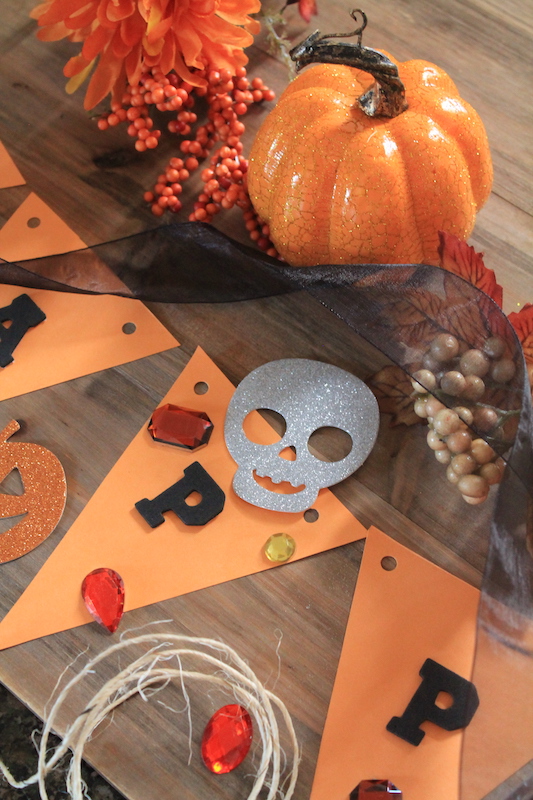
Pointy cut-outs in bunting flag style serve as placeholders for easy peel-and-stick letters to spell out the most spook-tacular phrase of the season: Happy Halloween! If you’re looking for that special touch to mix in with your spooky decor, try this simple Halloween decoration!
This easy Halloween banner is a super fun and easy DIY project to put together. It’s also a great festive project to create with your family (especially kids!) to kick off the festivities for your Halloween party! Just follow these easy step-by-step instructions and you’ll have an awesome homemade decoration to jazz up your space for a spooky fun night!
My oldest son actually helped me put this together from top to bottom, and we had a blast doing it together. Just be sure that a grownup is doing the the hot glue parts of the project so that there are no burns or accidents.
items you’ll need for your halloween banner
There’s just a few items we’ll need to grab so we can start putting together this simple yet stylish little garland. Most of these things will be in the craft section, but I have placed a few links to some of the more important items that I think work really well for this project and that I would highly recommend.
- Orange Paper or Construction Paper (choose a heavier weight/stock of paper for sturdiness)
- Stick-on letters
- Ribbon (black or any Halloween theme ribbon (without wire) is easiest to cut/glue)
- Hole Puncher
- Scissors
- Crystals or Gems (be sure to order gems like the ones linked here with flat backs for easy gluing)
- Festive Colored string or twine. Jute twine works well and so would this fun Halloween raffia ribbon in festive colors! I find that the easiest string to work with is this skinny sort of baker’s style twine.
- Hot Glue Gun
start by tracing and cutting your Bunting flags for the dIY Halloween Garland
A couple easy tips to keep in mind if you like to make things simple…
shape & sizing tip:
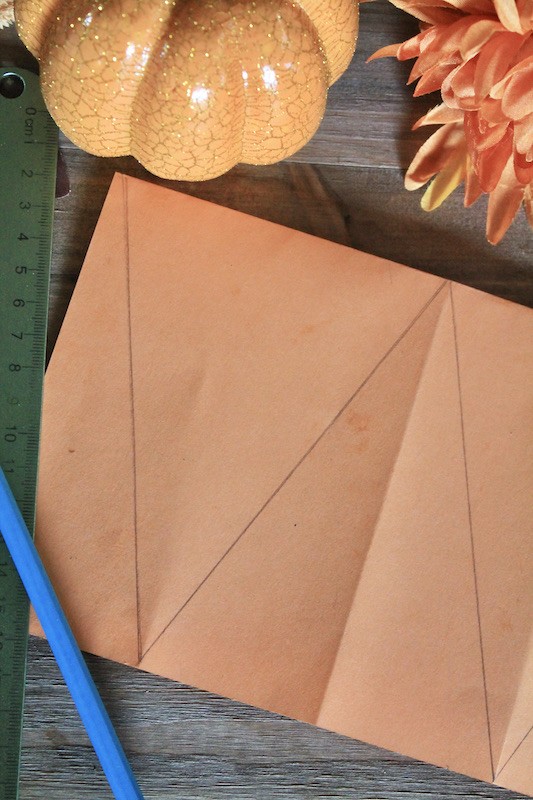
To keep a consistent look and size for the flags, you’ll want to either trace and cut out one stencil shape (and just keep tracing it/cutting until you’ve cut out about 14 pieces + maybe some extra in case we mess one up).
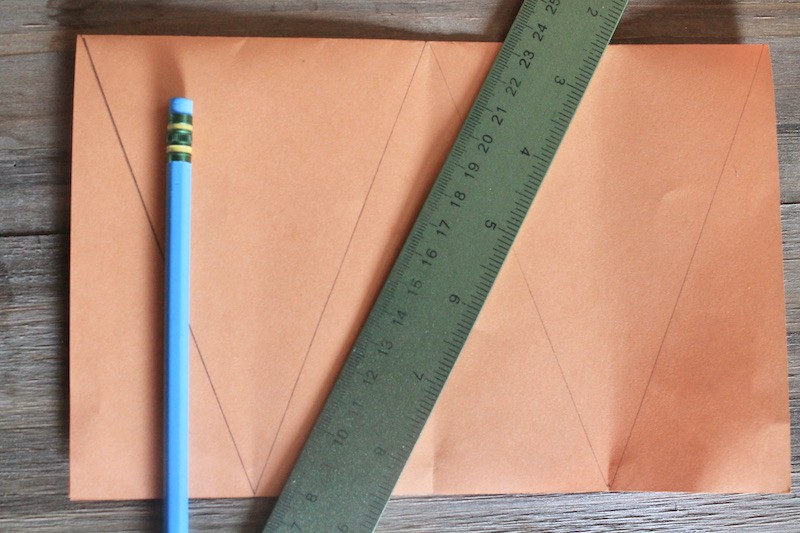
Or, you can take your rectangular orange paper sheets and fold them in half and trace a big letter ‘W’ as I have done above. Just be sure the diagonal lines are all symmetrical and evenly spaced at the top and bottom.
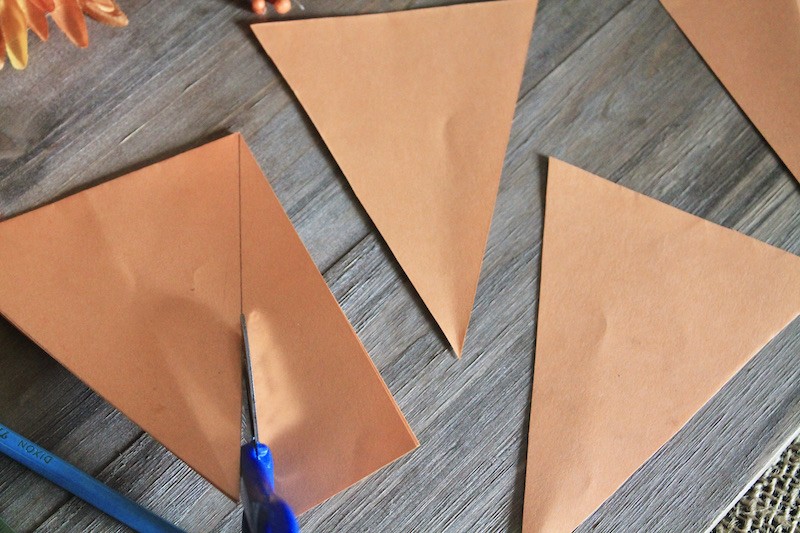
Use a ruler to measure the spaces, if desired. I was able to get six triangle-shaped flags out of each sheet using this method. The stencil method works just as well too.
Use A Hole Puncher to cut holes for the DIY Halloween Garland
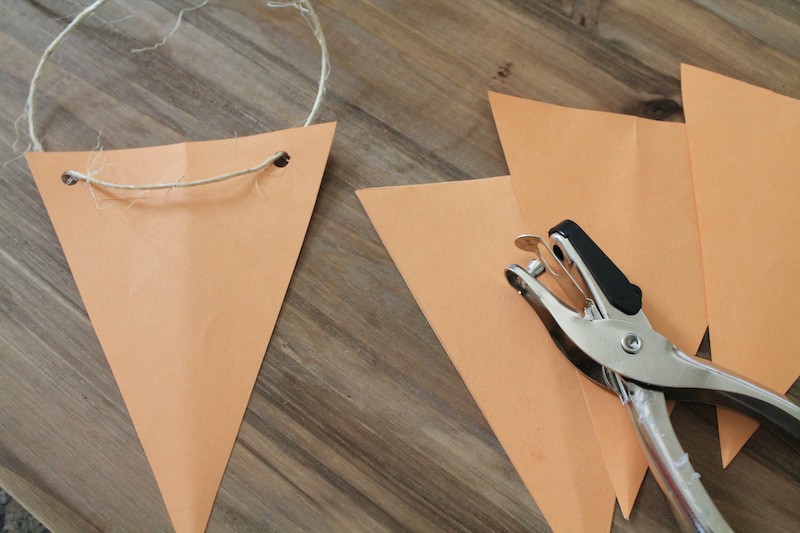
Now that our flag shapes are all cut out, we’re ready to put some holes in so we can feed the string through. Using a hole puncher, cut holes into the wide top side of each bunting flag. I stacked mine into 3 or 4 flags and punched them all at the same time.
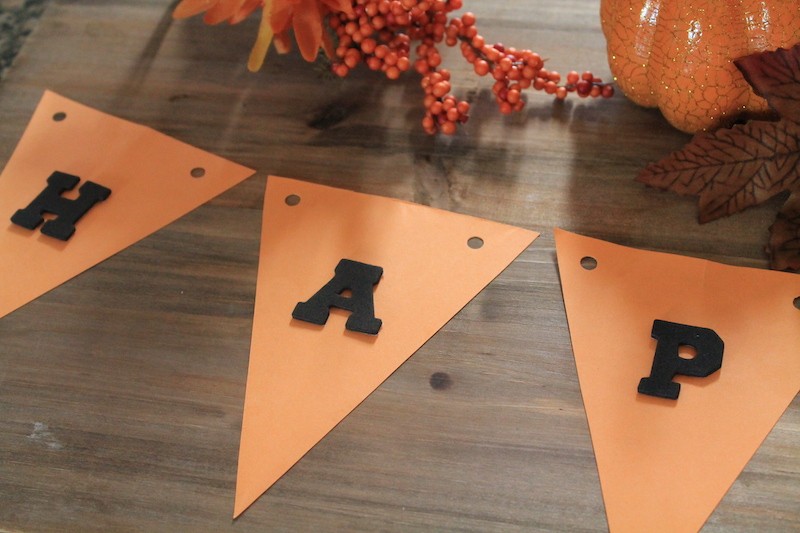
I then took a finished flag with holes and placed it over the next set of flags to use as a guide for the next set of holes. It’s just a quick way to keep punching into the same spots.
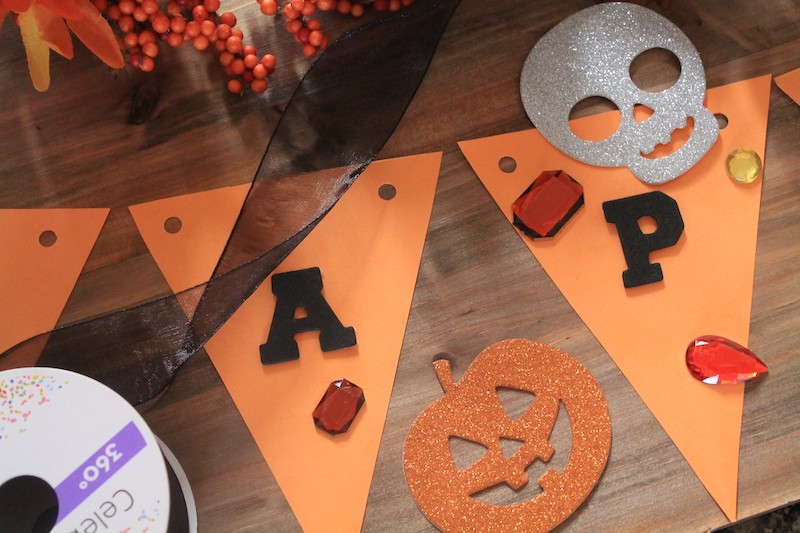
Add Sticky Letters to the bunting flags to spell a festive message on your halloween garland
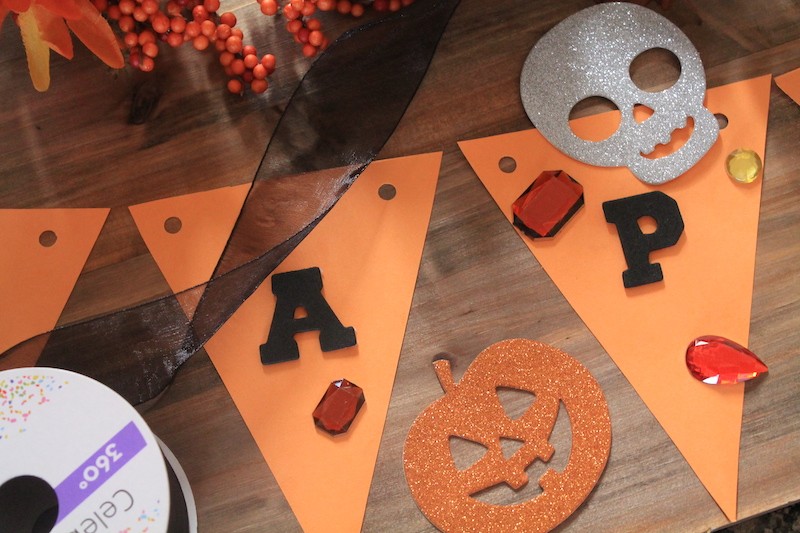
Now we’re ready to spell everything out! Grab your sticky/foamy letters and spell out our special phrase! Happy Halloween!
banner tip:
I found that this process was made much easier when we took all the flags and laid them out on the countertop. We placed a row with 5 flags at the top for “Happy” and a second row with 9 flags at the bottom for “Halloween.” Now just peel n’ stick!
Decorate and Embellish Your DIY Halloween garland
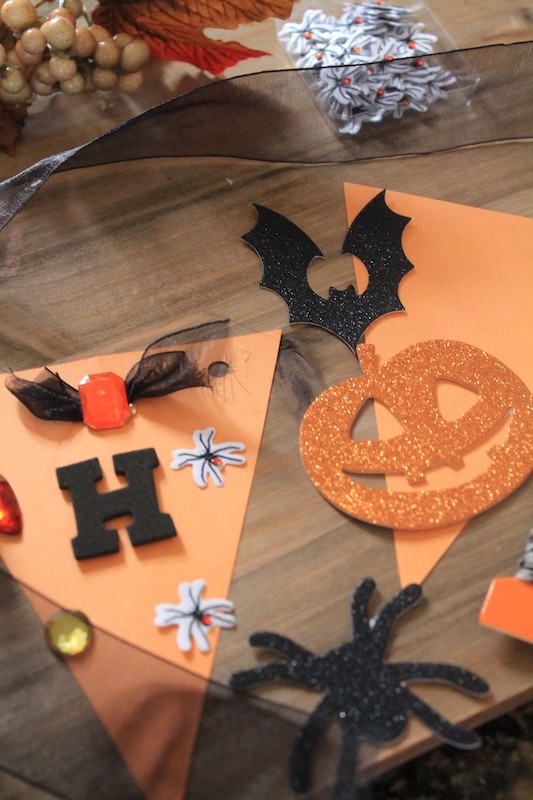
You’ll want to have your glue gun plugged in and ready to go now. It’s time for the very best part… Let’s jazz up the banner with festive style and color! I’m not even kidding when I say that the sky is LITERALLY the limit here. You could use sequins, stickers, crystals, ribbon, glitter! This is where you’ll want to come in and give it your own special taste and twist of decor.
add twisted ribbon decorations to the flags on the dIY halloween Banner
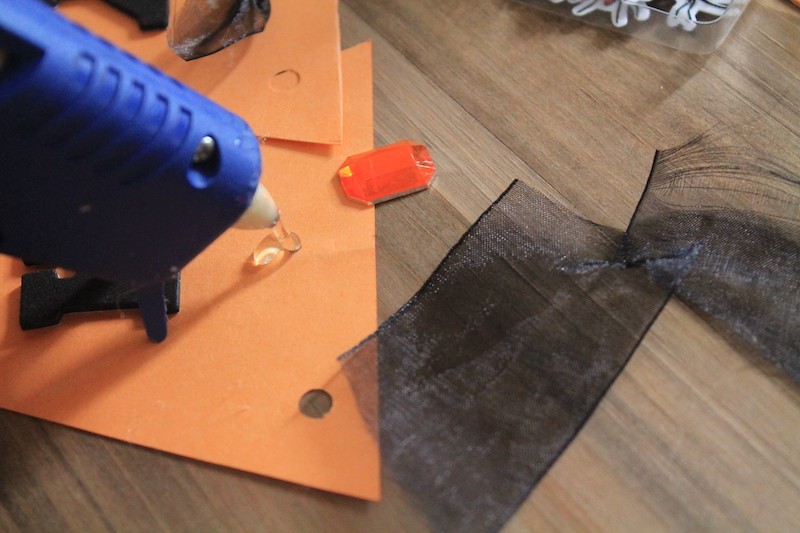
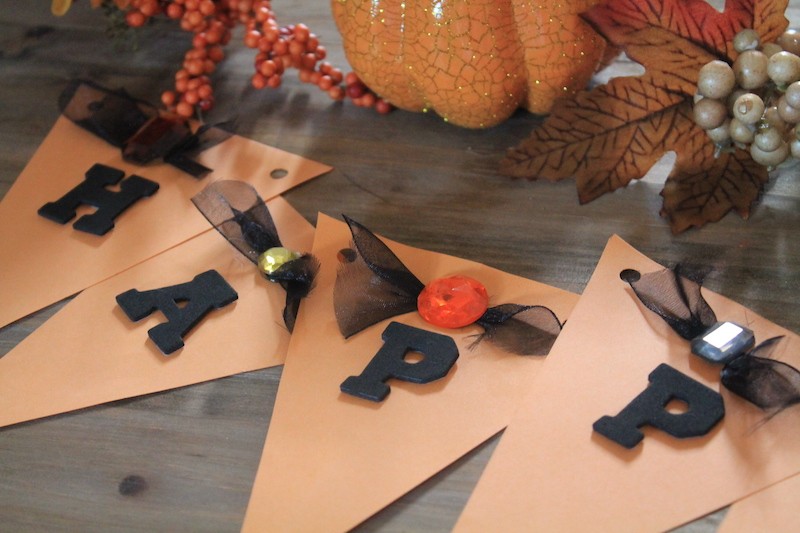
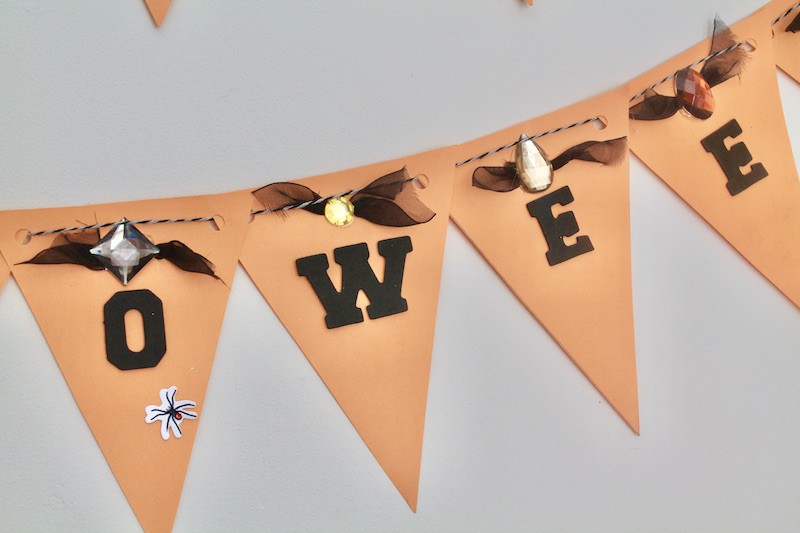
I like to create little ribbon ‘bats’ by cutting my sheer black ribbon into strips.
Next, I’ll twist the pieces down the center (like a candy wrapper). I’ll place a spot of glue down in the upper center of each flag and glue the twisted ribbon down.
add sparkly gems to your DIY garland
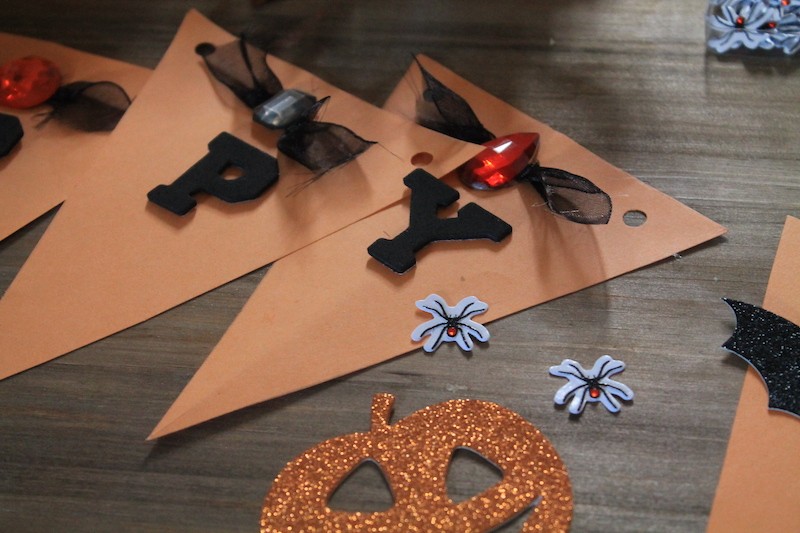
Next, I’ll quickly place another spot of glue on top of the twisted ribbon and place a colorful gem on top. Do these two steps back to back in a quick motion. It all comes together sorta fast. (The extra glue plus the gem on top helps to stabilize the twisted ribbon beneath.)
Now it looks like a little sparkly bat is sitting at the top of each flag.
You can continue adding more cool decorative touches to the banner. Add little spiders, pumpkins, or bats to your banner. At this point, we stopped and let everything dry overnight so we could string the letters onto our twine the next day.
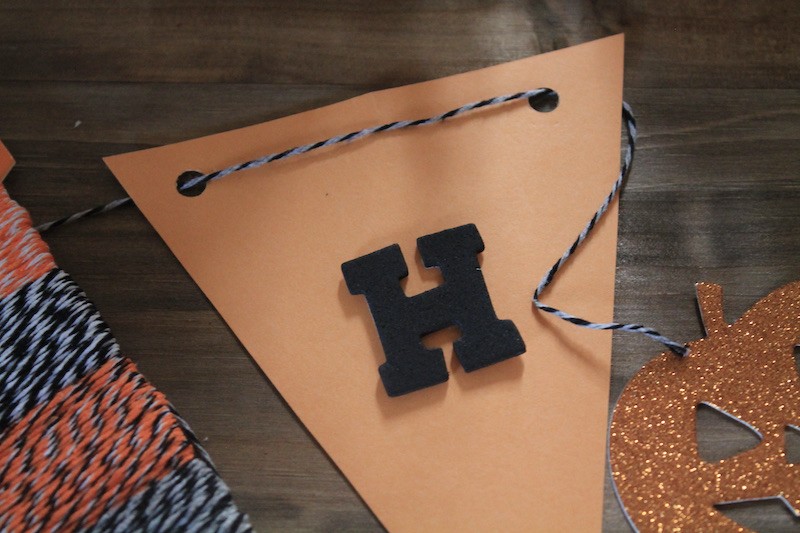
Hot glue dries pretty quickly, so, if you don’t want to leave it overnight, it’s totally okay. I will say, do give everything some time to rest and dry on the paper. We used soft cotton baker twine in festive Halloween colors to hang the banner.
display your festive Halloween Garland and Spookify your space!
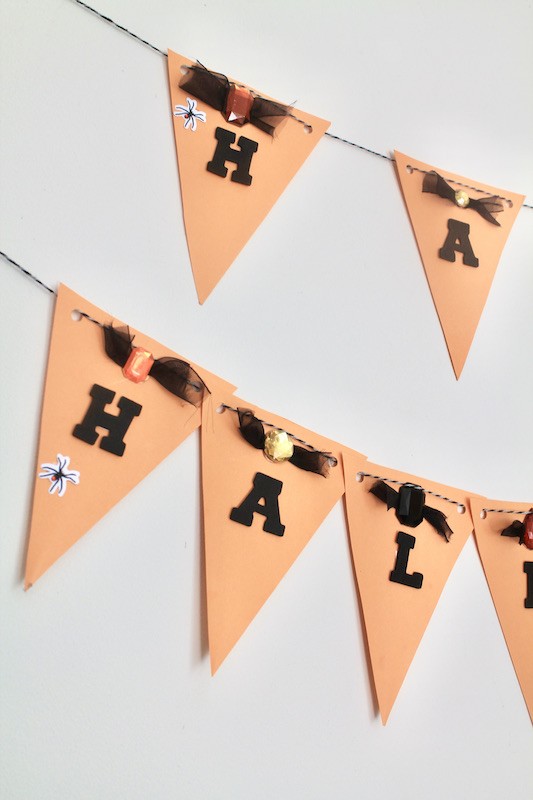
When you hang your festive diy Halloween garland, you’ll notice that you can space the letters/flags as close or far apart as you like. You can do this by sliding them around on the string. I played around with the spacing for a bit before I was happy with the way it looked.
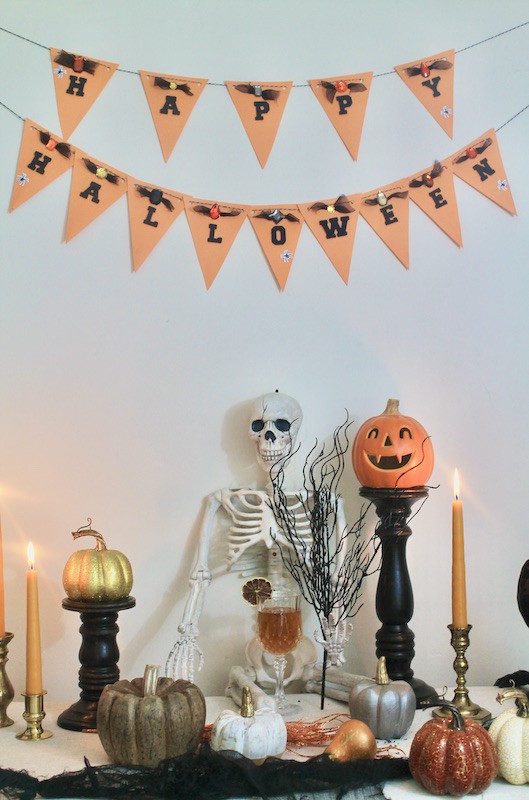
Now add spooky touches to your space! Display your festive diy Halloween garland over a cocktail bar, bar cart, or console table.
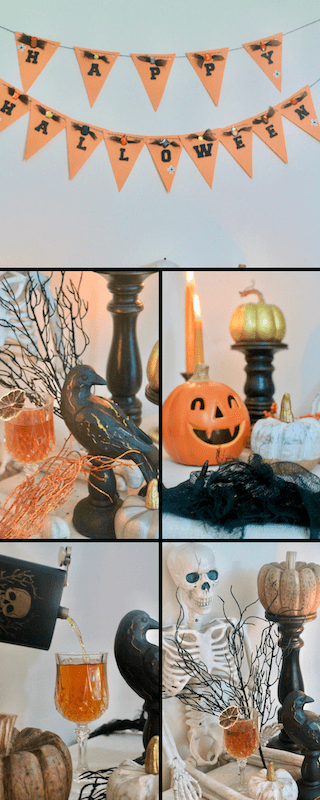
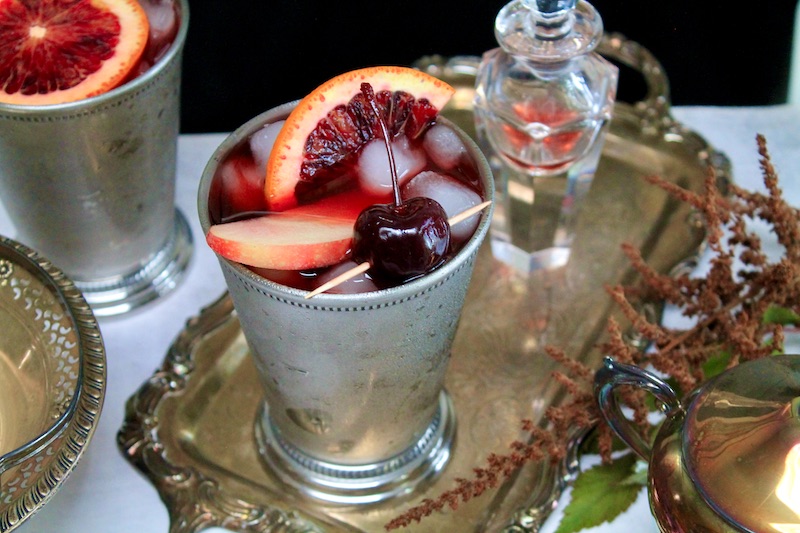
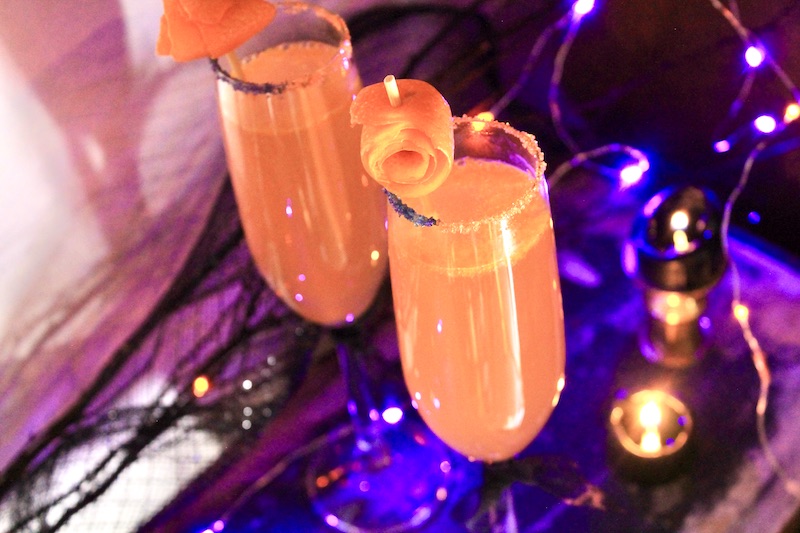
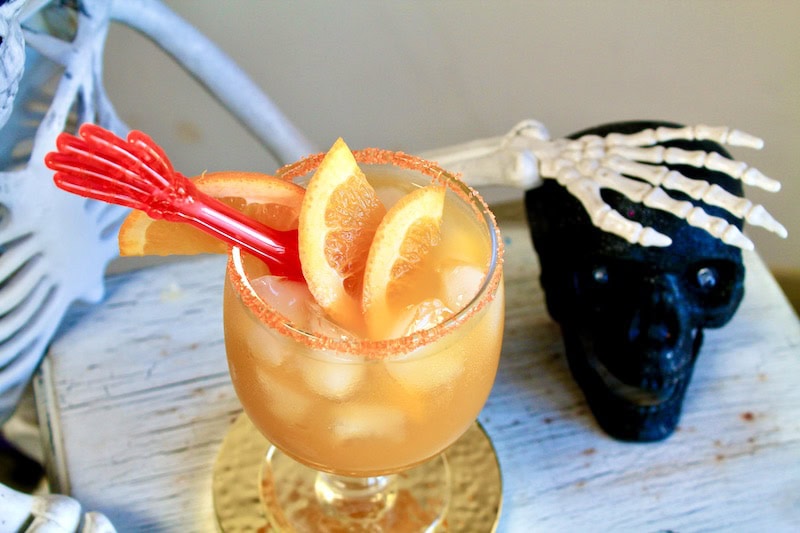
Pour some spooky spirits or brew some ghoulish potions, like maybe this cool Hocus Pocus cocktail… Put out some candles and pumpkins! While you’re at it, don’t forget to put out some spooky treats! Now you’ve set the stage for all your frightfully fun Halloween festivities!
BOO!
